Laying tiles might seem like a straightforward process—spread glue, place tile, repeat. However, in practice, there are dozens of nuances that can go unnoticed until it’s too late. A single mistake can lead to cracked tiles, water leakage, or the need to tear everything up and start over.
Whether you are a DIY enthusiast or supervising a renovation, here are the 10 most common pitfalls and expert advice on how to avoid them.
1. Improper Surface Preparation
You cannot build a solid house on a weak foundation. Similarly, you cannot lay tiles on a dusty, damp, or uneven floor.
- The Mistake: Applying adhesive directly onto dust, debris, or “green” (uncured) concrete screed.
- The Consequence: The adhesive bonds to the dust, not the floor. Over time, tiles sound hollow and eventually pop loose.
- How to Avoid: The surface must be perfectly clean, dry, and level. Use a primer to bind residual dust and improve adhesion. If the floor is uneven, use a self-leveling compound before starting.
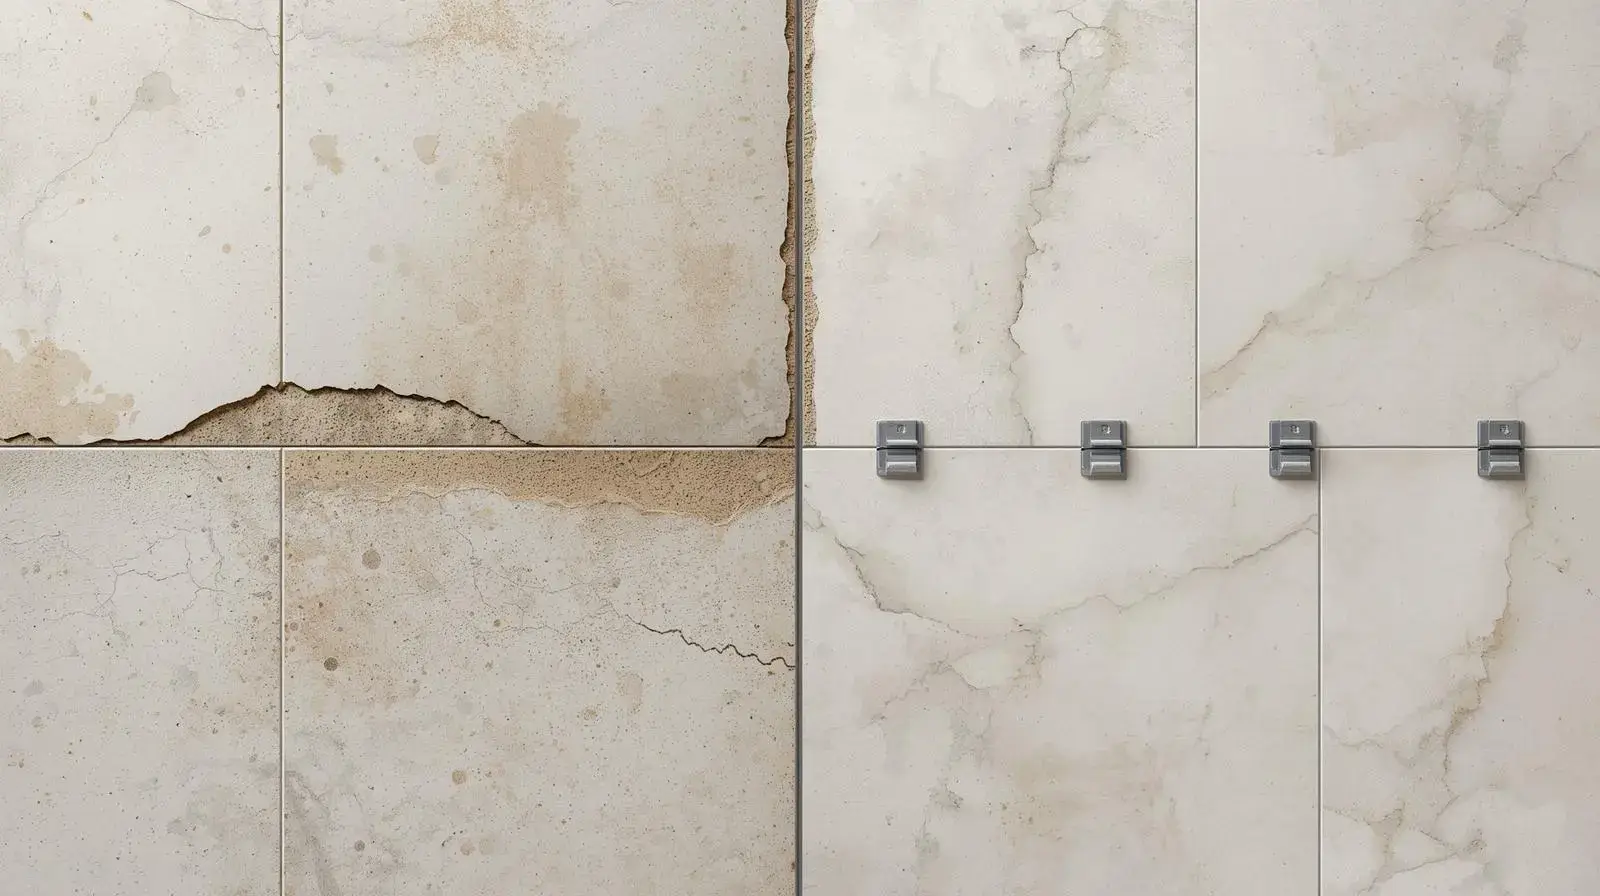
2. Ignoring Grout Lines (Butting Tiles Joint-Free)
Some homeowners want a “seamless” look and ask for tiles to be laid without gaps.
- The Mistake: Laying tiles edge-to-edge with no joint.
- The Consequence: All buildings move slightly due to temperature changes. Without a gap for expansion, tiles push against each other and “tent” (lift up) or crack.
- How to Avoid: Always leave a gap. For rectified tiles, a minimum of 2mm is recommended; for rustic tiles, 3-5mm. This allows for thermal expansion and, with a high-quality grout, actually frames the tile beautifully.
3. Choosing the Wrong Adhesive
Not all glues are created equal. An adhesive meant for small ceramic wall tiles will fail if used for heavy porcelain floor slabs.
- The Mistake: Using cheap “universal” adhesive for large-format or porcelain (non-absorbent) tiles.
- How to Avoid: Match the adhesive to the tile and substrate.
- For Large Format / Porcelain: Use flexible, polymer-modified adhesives (Class C2TE S1 or S2), such as MAPEI Keraflex Maxi S1. These can handle the weight and slight movements.
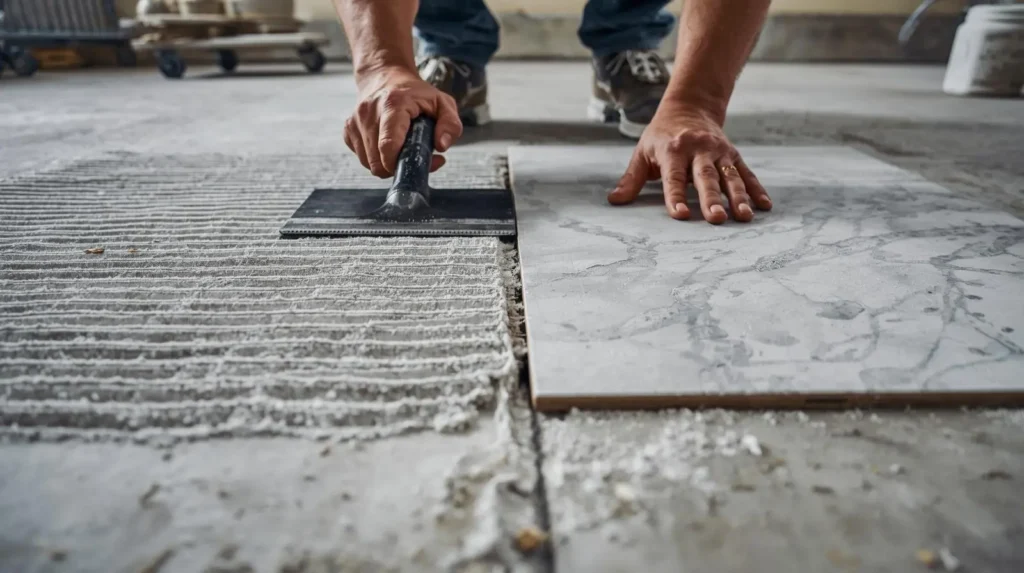
4. Incorrect Adhesive Spreading (Spot Bonding)
- The Mistake: “Spot bonding” or “dot and dab” – placing blobs of glue on the corners and center of the tile.
- The Consequence: This leaves large air voids under the tile. If something heavy falls on the hollow part, the tile breaks. It also allows moisture to accumulate.
- How to Avoid: Use a notched trowel to spread adhesive evenly in straight lines (not swirls). For large tiles, use the “Back-Buttering” technique—applying a thin layer of glue to the back of the tile as well to ensure 100% coverage.
5. Soaking Tiles (An Outdated Practice)
- The Mistake: Soaking modern tiles in water before laying them.
- The Reality: This was necessary for old, porous clay tiles. Modern porcelain tiles have extremely low water absorption. Soaking them creates a film of water that prevents the modern polymer adhesive from bonding.
- How to Avoid: Lay tiles dry. Wipe the back of the tile with a damp sponge only if it is dusty, but never soak them.
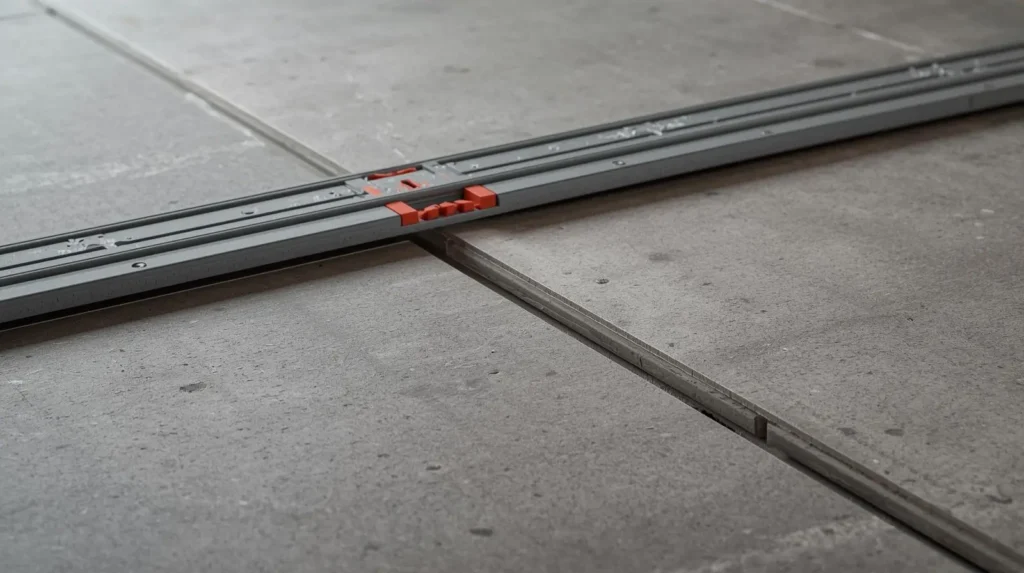
6. Eyeballing the Alignment
- The Mistake: Trusting your eyes instead of tools.
- The Consequence: By the time you reach the center of the room, the lines will be crooked, and the pattern will drift.
- How to Avoid: Use a laser level for initial layout. Crucially, use a Tile Leveling System (clips and wedges). These tools mechanically force adjacent tiles to be perfectly flush, eliminating “lippage” (uneven edges).
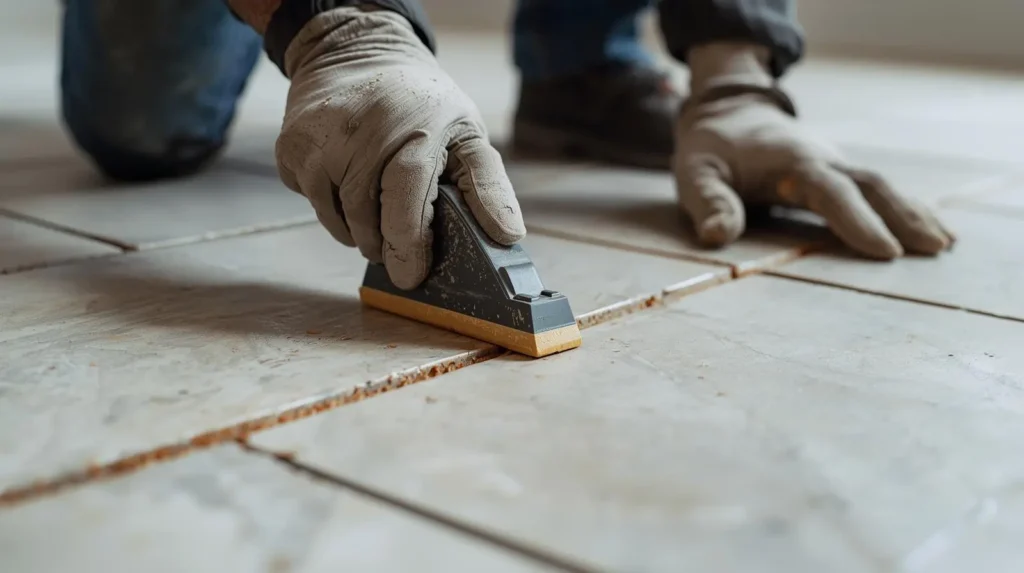
7. Neglecting Grout Quality
- The Mistake: Using cheap cement grout in wet areas or mixing it poorly.
- The Consequence: Water seeps behind the tiles, leading to mold, discoloration, and structural damage.
- How to Avoid: Use high-quality, water-repellent, and anti-mold grout like MAPEI Ultracolor Plus. For areas with heavy chemical use (like walk-in showers), consider Epoxy grout for a completely waterproof seal.
8. Rushing the Process
- The Mistake: Walking on the floor too soon or grouting before the adhesive is dry.
- The Consequence: Stepping on wet tiles shifts them out of level. Grouting too early traps moisture, causing the grout to turn yellow or patchy.
- How to Avoid: Patience is key. Wait at least 24 hours before walking on the floor or grouting (unless using a rapid-set adhesive).
9. Using Poor Quality Tools
- The Mistake: Using a trowel with worn-down notches or the wrong notch size.
- How to Avoid: Use professional tools. The size of the trowel notch (8mm, 10mm, 12mm) must correspond to the size of the tile. Larger tiles need deeper notches to ensure enough adhesive bed.
10. DIY Without Experience
- The Mistake: Attempting a complex job (large format, herringbone pattern) without prior experience.
- How to Avoid: Tiling requires muscle memory and skill. If you are unsure, hire a professional. Alternatively, hire a pro as a consultant to start the layout for you, and then proceed under their guidance. It saves money in the long run.
Frequently Asked Questions (FAQ)
What notch size trowel should I use for 60×60 tiles? – Use at least a 10mm or 12mm notched trowel. It is also highly recommended to “back-butter” the tile (apply a thin flat layer of glue on the back) to achieve full coverage.
Can I tile over existing tiles? – Yes, but only if the old tiles are securely bonded and solid. You must use a special primer (like a grit primer) and a high-quality flexible adhesive.
Why did my grout crack? – Grout cracks usually happen because the adhesive underneath wasn’t fully cured before grouting, or there was too much water in the grout mix. It can also happen if the subfloor is moving.


